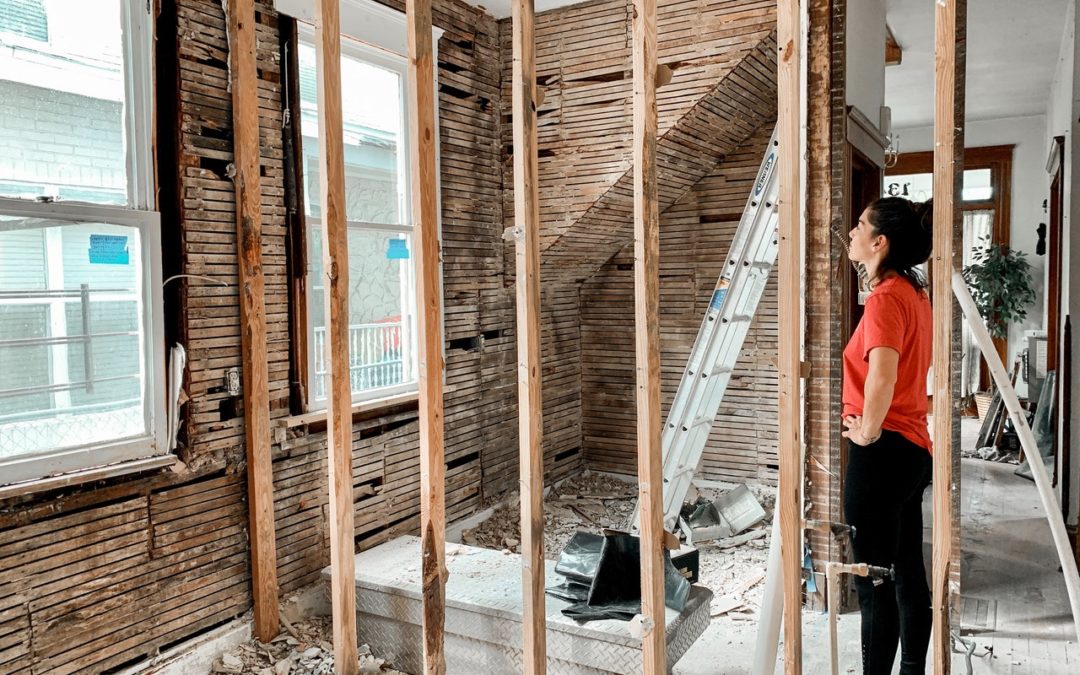
A major remodeling project may involve many stages of the construction process. There is an order to things when it comes to any major construction project, and a residential remodeling project is no exception. Each phase of the remodeling process builds upon the last, so careful coordination of each trade or craftsman involved is called for.
The list below walks through 23 stages of a remodeling project—from site preparation all the way to obtaining a certificate of occupancy from your local building official.
1. Site Prep
If a new foundation is involved in the project, then site preparation work is needed. Trees and shrubs may need to be removed and/or relocated. The landscaping contractor can handle this task for you.
2. Foundation Excavation
Constructing a proper foundation involves clearing the site and digging to a specified depth to allow concrete forms to be set. During this step, the contractor would take care of any necessary relocation of underground electrical wiring or plumbing.
3. Foundation Construction
After excavation, the mason or concrete subcontractor can set the forms and pour the foundation footings. Concrete footings need to cure for several days before construction can proceed.
4. Backfilling
Once the footings have cured, and any required inspections are done, the voids around the foundation can be backfilled with material that is compacted and formed to slope away from the foundation.
5. Demolition
Framing contractors or the construction staff will likely need to access a wall to allow rough construction to meet the existing structure.
6. Framing
Load-bearing walls, floors, and roof structures need to be framed and covered with sheathing. An inspection may be called for before finish walls can be constructed.
7. Roof
The first step in weatherproofing the project is to install the roofing materials. This will protect the frame structure and construction in place.
8. Windows and Doors
Installation of windows and doors is the second step in weatherproofing the structure.
9. Siding
The final exterior close-up is to wrap the exterior in material to ensure a moisture barrier is in place. Then the siding and exterior trim can be installed.
10. Interior Partitioning
Following the floor plan, carpenters will assemble the stud walls and cut rough openings for doorways and whatever else may be needed. By following the plans, carpenters can also ensure that mounting blocks and chases are incorporated in the partitions to aid in HVAC, electrical, and plumbing routing.
11. Rough Plumbing
Water supply, drain and sewer pipes are installed from the service connection to where they will be connected to fixtures. Built-ins like tubs are also usually installed in this phase of construction. In most locales, supply-piping systems must be pressure-tested before they are covered up by wall and floor finishes. Drain lines must be inspected for correct sizing and proper venting.
12. Rough Electrical
Cables and other wiring are run from the service connection to the end-point of connection, whether for outlets, appliance outlets, switches, lights, etc. Wiring needs to be inspected before any wall finishes are installed.
13. Rough HVAC
Heating and air conditioning equipment, including vents and pipes, are now installed. Again, inspections will be necessary to proceed to the next step.
14. Insulation
Wall, floor, and ceiling insulation is typically installed right after installation and inspection of the HVAC, electrical, and plumbing.
15. Drywall and Finishes
Wallboard and other types of finishes can be installed after all inspections of previously installed fixtures. Wall tile and ceramic flooring would be also installed in coordination with the wall construction.
16. Flooring
Any wood flooring would typically be installed around this time.
17. Kitchen or Bath Cabinets
Cabinets and other built-ins are now placed in the kitchen or bath. Countertops are installed after setting the base cabinets.
18. Finish Plumbing, Electrical, and HVAC
Sinks and faucets are installed and connected. Electrical outlets are wired, light fixtures are installed, and GFI plugs (if required) are installed. Vent registers are put in place. Inspections of all of these finishes are usually required to proceed.
19. Paint
Ceilings, walls, and trim are painted (in that order) according to the customer’s specifications of color and finish.
20. Appliances
If any cooking appliances, dishwashers, washers or dryers, are to be installed, they are usually set after the painting is complete.
21. Landscaping
This phase would involve Installation of any planting areas, trees, grass, or decking, if the season permits.
22. Certificate of Occupancy
After all of the inspections are complete, the local building authority will issue a Certificate of Occupancy, certifying that all of the permit requirements have been fulfilled.
23. Final Walk-Through
A final walk-through with your general contractor is not just reserved for complete home building; it is a crucial step in a major remodeling project, too. The customer and contractor will go through the addition piece by piece to verify that everything was completed to the client’s satisfaction. Also, the contractor would explain the operation of any new equipment at this time, as well as any warranties included on the service or equipment provided.
As you can see, the process of a major remodeling project is like a carefully choreographed stage play, with each phase building upon the last to complete an entire remodeling project. Selection of a General Contractor that can orchestrate all of the subcontractors, inspections, suppliers, and laborers, is key to the success of your project.
Criner Remodeling can tackle your major remodeling project in Virginia with a professional staff that will meet your every expectation. Call our team at 757-868-6200 or email us at info@criner.net.

